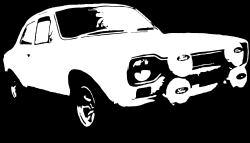
Fitting it up
So, you have that shinny shell, and a great big pile of bits!
Now your wondering where to start, front, back, inside, outside, top or bottom, we'll show you how and you don't need no special tools but you will need patience, to finish that car. Oh! and a couple of weeks in the garage - that's if you have everything you need. Lastly a really understanding wife (optional)....... Good luck!!
Don't forget - you have come this far - get everything nice and clean and repair anything that is faulty..... Keep a pen and paper handy to make note of things you need.
Lastly, if you are unsure of anything just give us a call, where here to help!!
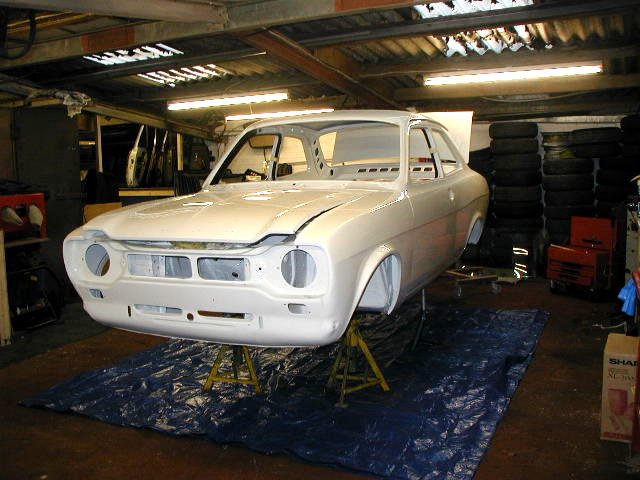
Getting it back together!
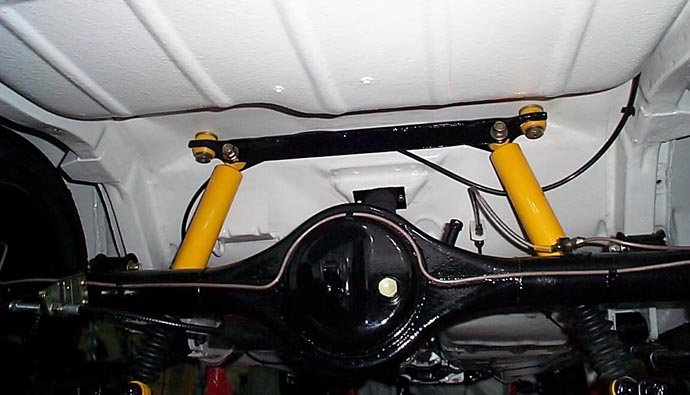
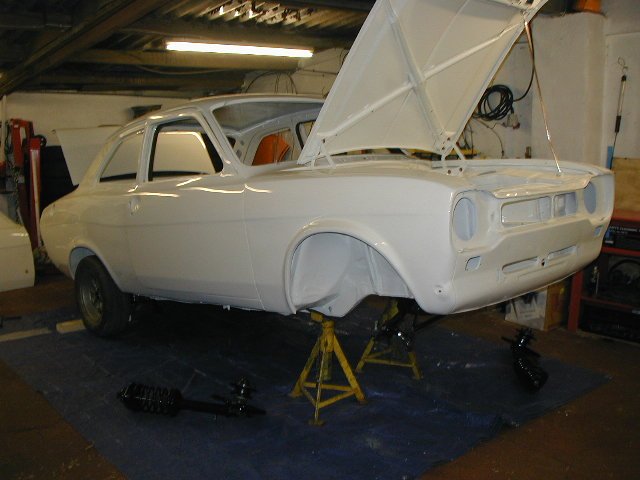
1. If your tight for space, then the first thing is to get the suspension on and make the car water tight - you'll be able to move the car around if you need to and there is nothing like working outside in the sun. We fitted up the boot and doors in this shot but removed them later, just to ensure the fit was good and the lines were right.

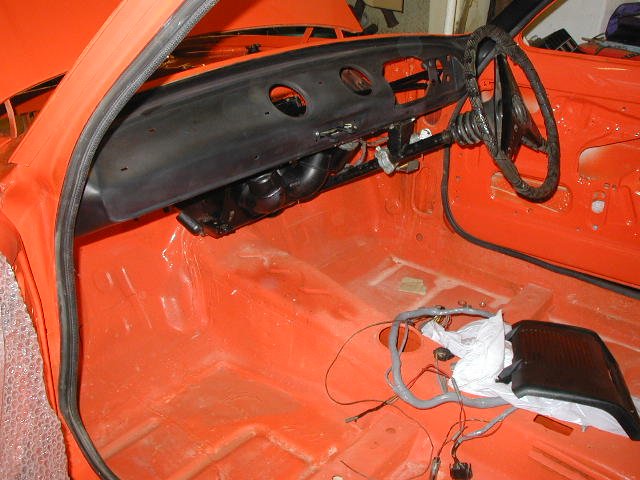
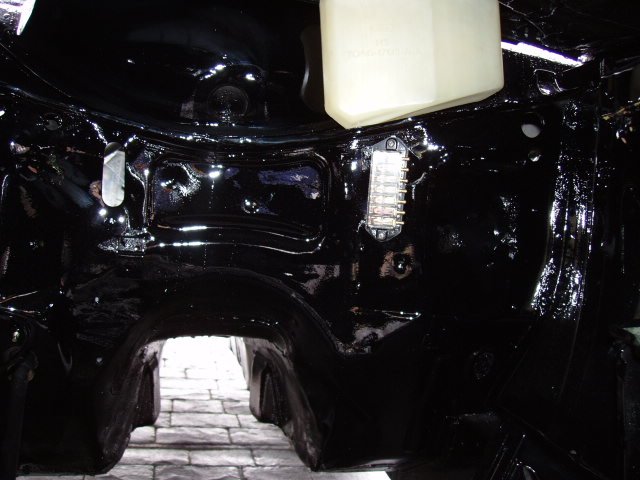
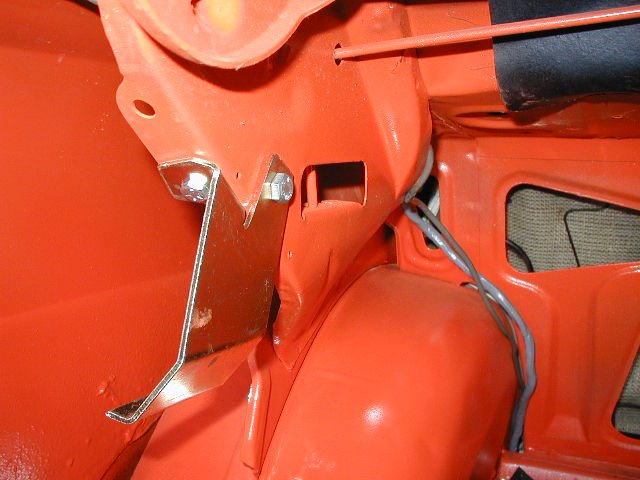
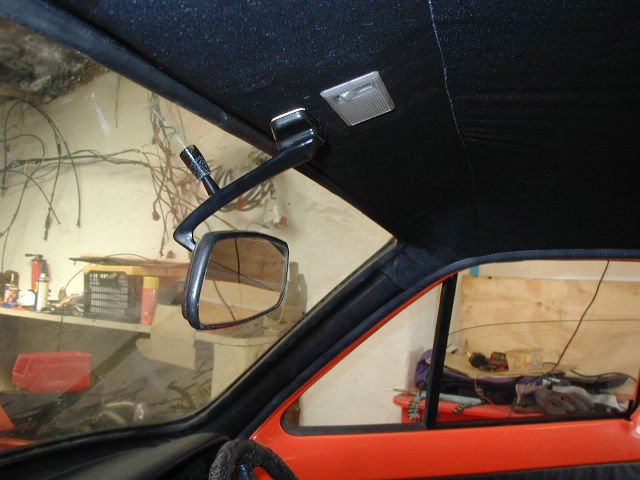
2. Once the suspension is fitted and before the steering rack is fitted, you will need to fit the interior loom, heater box and wiper mechanism. Don't forget to run the interior light loom up the passenger A pillar and into the light slot central to the rear view mirror, tape this in place, for later. Also if you have one, run the heated rear window loom into position, as you'll be wanting to fit the glass soon and connect the rear earth strap and leave the live with taped to the rear pillar.

3. Boy, your motoring.... Now connect the steering column and ensure this is fitted to the crash pad of the dash, and then connect loom to ignition lock, indicator stalk etc.... Ensure you fit the column into the steering knuckle
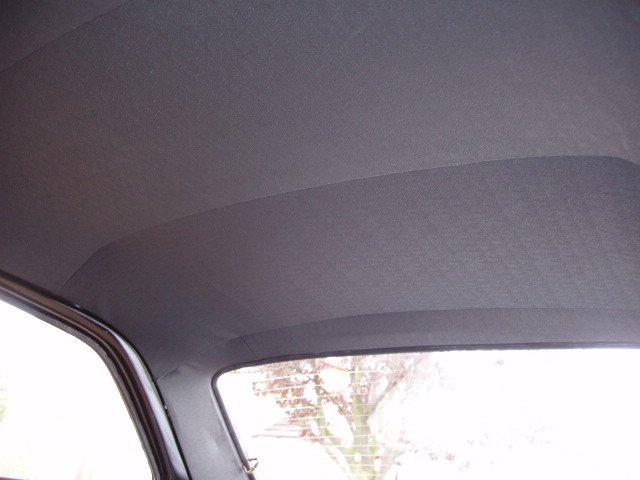
4. If you are moving the car in and out, then best to get it water tight!, so we need to fit the glass and before that the roof lining! For this you will need about 8 Bulldog clips and nothing more than a new headlining and a pot of Bostic glue.
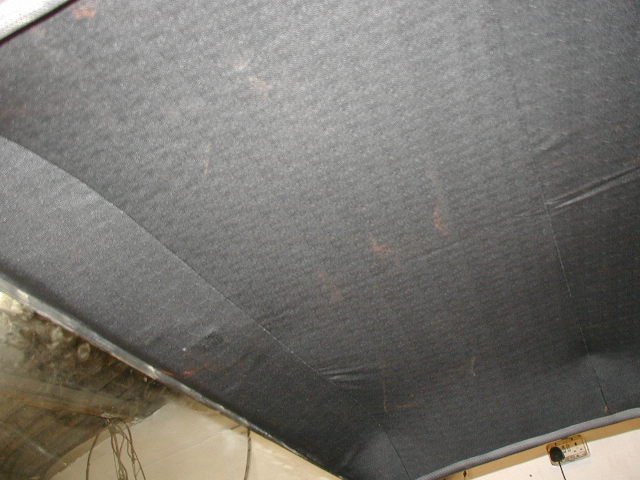
5. Get the roof lining the correct way around and fit the roof rods through the sleeves in the
underside of the lining, if they are tight, use silicon, or WD40 on them so they slide in easily.
(neat trick)
Fit the little plastic clips into there holes, you should have 4 each side! If all is OK, then fit the rods
into position and leave the lining to sag.
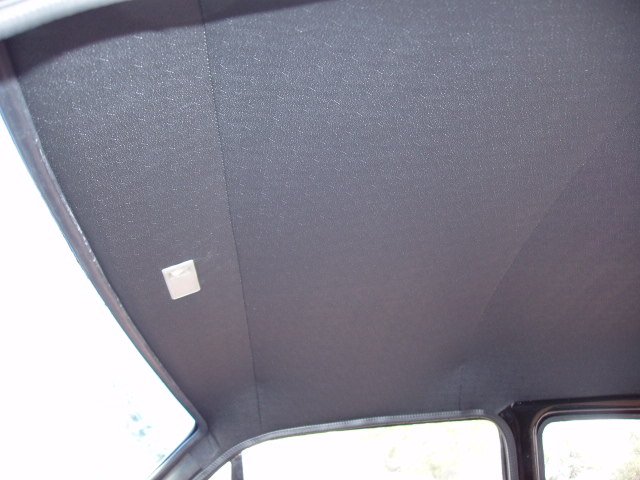
6. The probability of getting a new lining that fits perfect is remote, and you will need to trim this - but you can do this last if your careful. Start by gluing the top edge of the windscreen where lining is going to fit, don't worry too much if you go around too far, but don't get glue on the paintwork - offer up the lining and glue this in the same place, leave to dry for 10 minutes and then gently pull the lining into position, once you are happy with the result fit the bulldog clips and leave to dry as per recommendations of glue you are using. repeat this process for the rear - but remember that you need to make the lining nice and tight, don't worry about the sides as this will come taught when you glue around the door and fit under the gripper around and over the rear windows. (neat trick) is to cut a star shape in the centre of the interior light hole and fit the internal light.
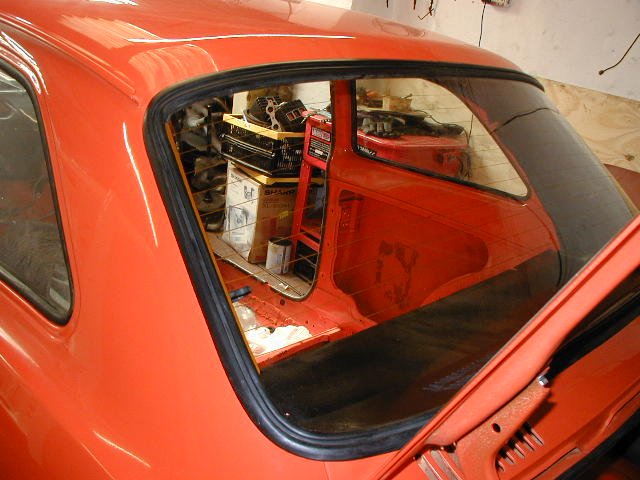
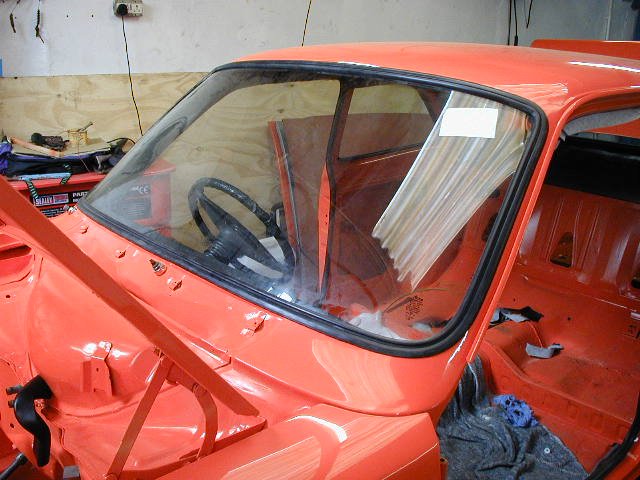
7. The front and rear glass can be fitted once the glue is semi dry - but firstly cut off any excess lining neatly. When fitting the glass, take care not to pull the roof lining. Might be worth getting a specialist to do this part for the cost of about £50.00 - £70.00
8. As you can see in the last pictures above, we have not glued the door section and only tucked the gripper section in place, the lining will sag a little over time and we don't need to worry too much about this, so we'll leave it for a later section.
9. Engine bay loom and rear loom can now be fitted and dependant upon which way you do this, the following sections can go either way. I.e. Boot completion or engine fit!
Also fit the bonnet release cable, through to the engine bay and secure at the bulk head.
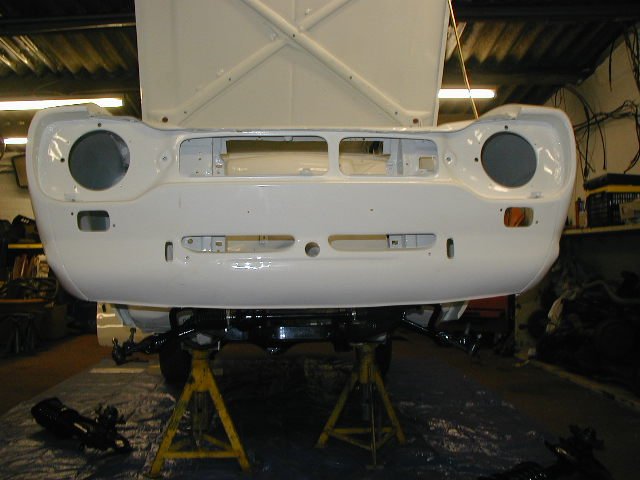
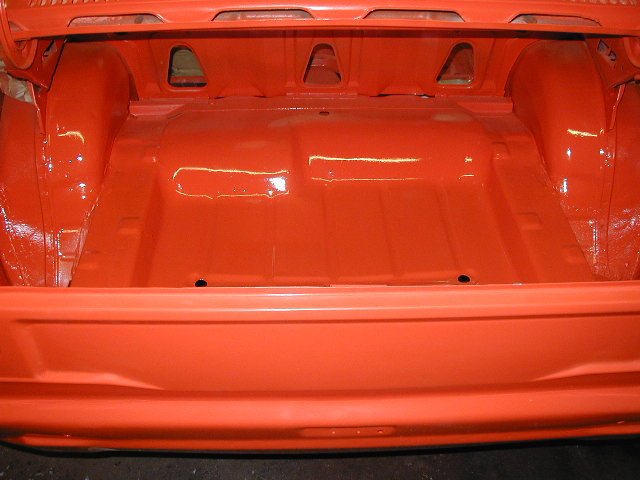
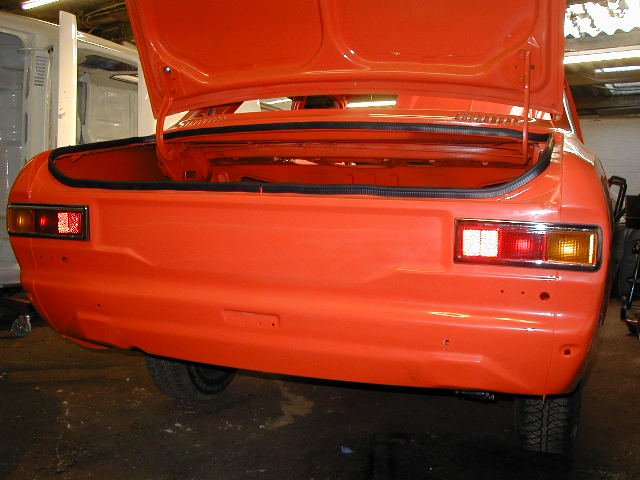
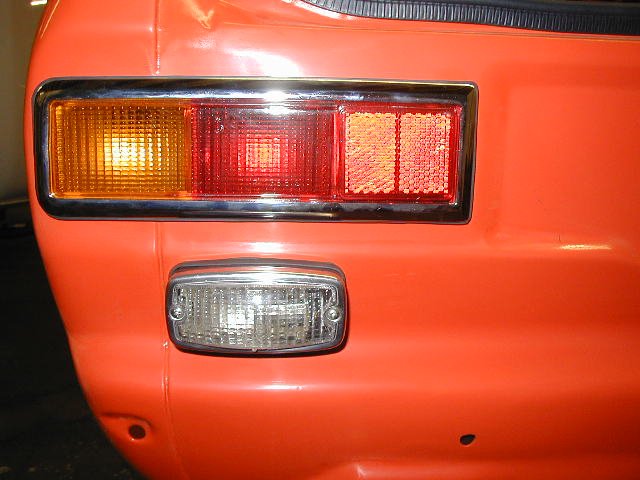
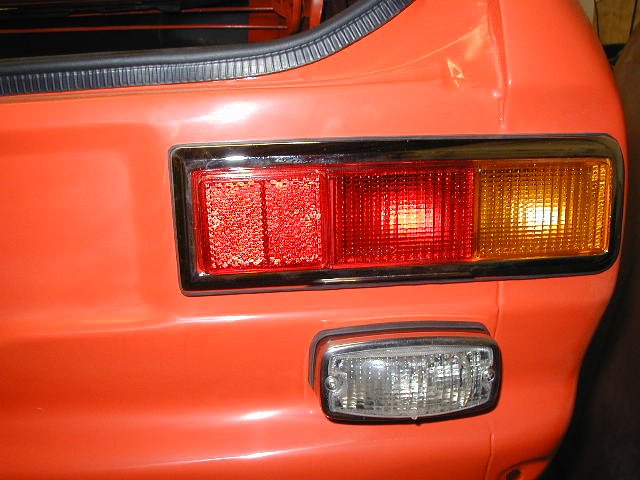
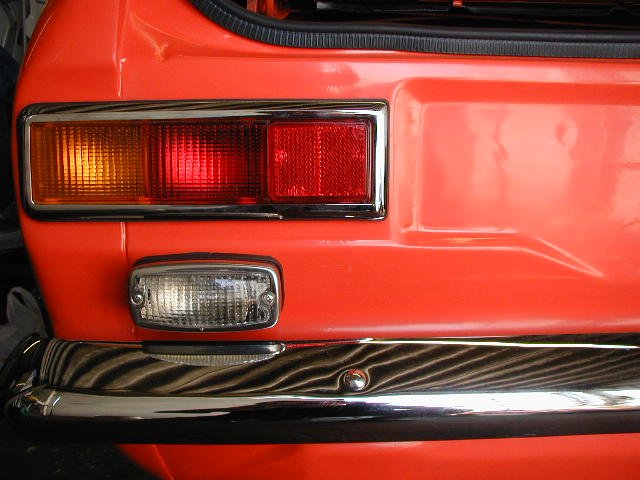
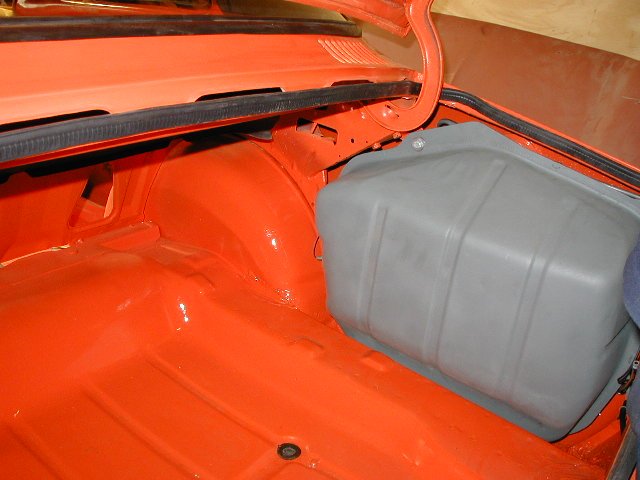
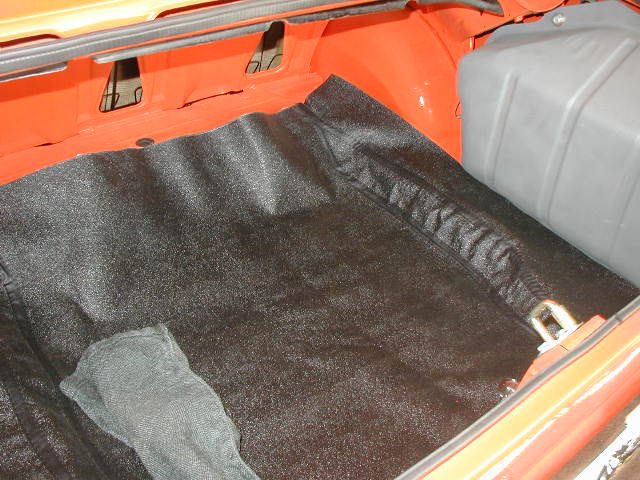
10. Rear end. You will need to fit the rear lights and also the rear bumper before you fit the tank, as failure to follow this route will result in lost nuts and washers under the tank in the food well... Trust me I have done it!.
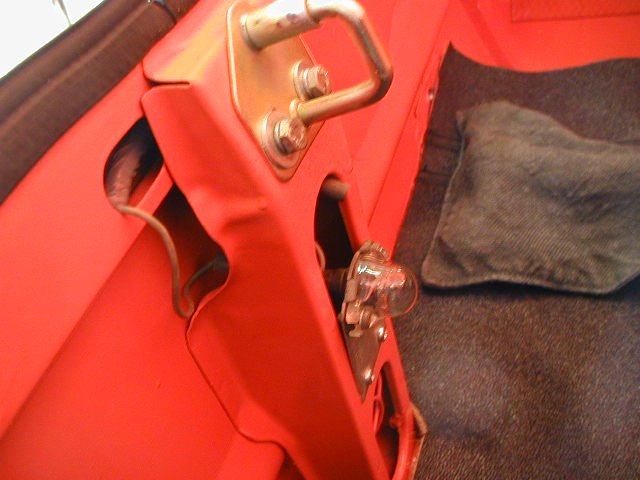
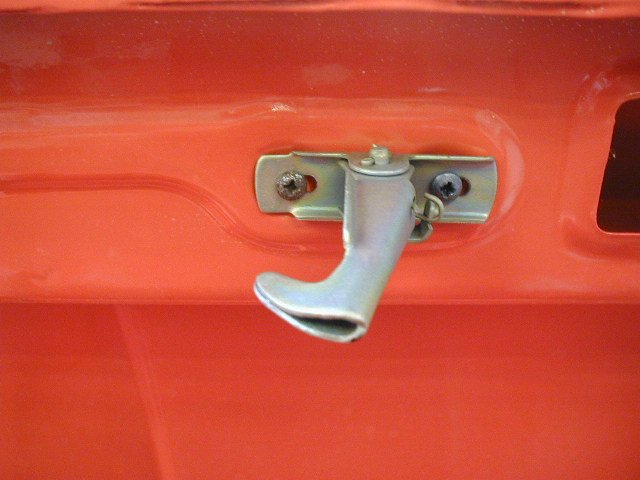
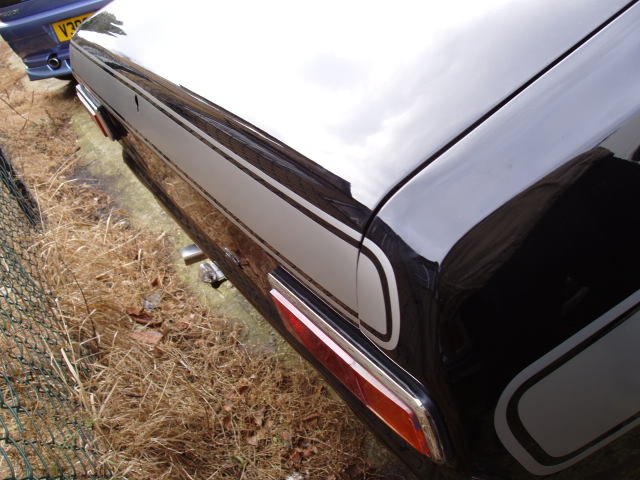
Don't forget to re tape your loom as this will look awful if you skimp at this point, re connect your loom to the lights, and tank. We chose to fit the boot catch and boot light also at this point, note we have also fitted a new spare wheel bracket. The boot rubber seals including grommets are also fitted and the last picture is a finished example of a Concours boot area.
NB, if you wish to decal your car, don't fit external letter scripts or boot lock, as your need to remove these, for decaling either a Mexico or RS2000 see our section on "How to decal your RS"
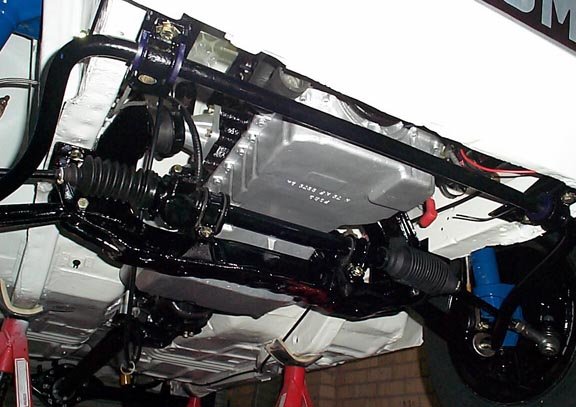
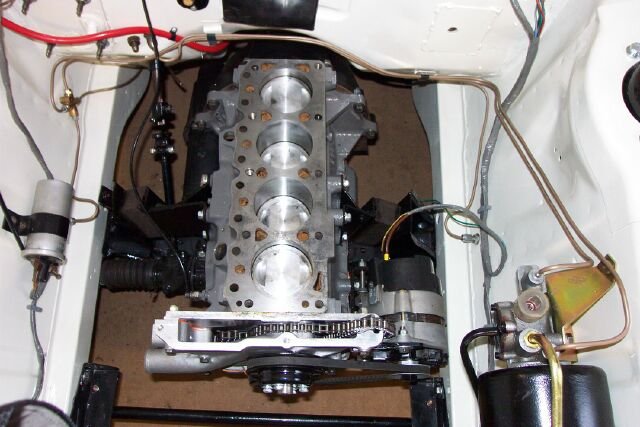
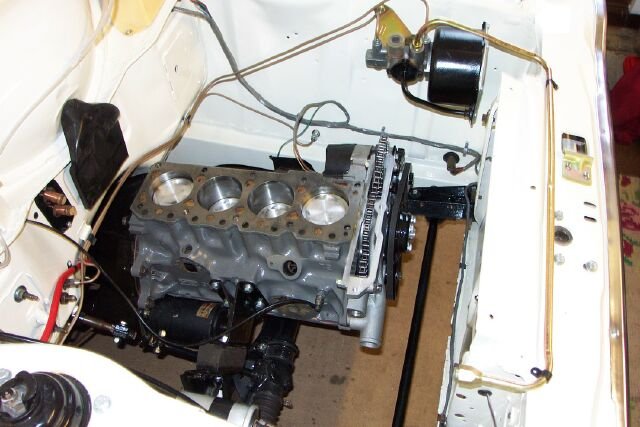
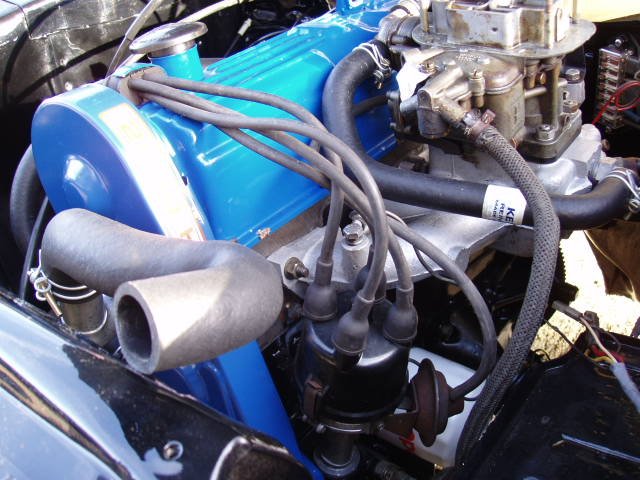
11. Engine bay. You will need an engine hoist here, and a couple of willing mates, again, don't rush and make sure everything is clean and polished before you refit it. We chose to fit the braking system before engine, in one car and then fitted the engine without braking system in another, see below, no difference either way!!
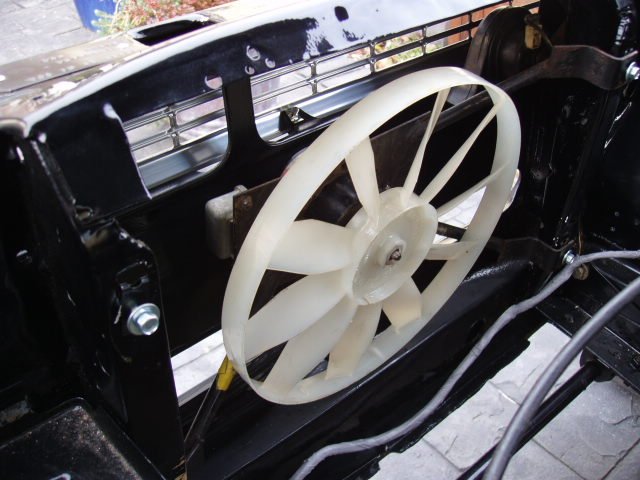
Likewise, the rad can be fitted before or after, your choice. Fit exhaust and gearbox and secure to prop shaft. While your under there, run the petrol hose and secure to tank and petrol pump. Try to fit new clips, if possible, as this will improve the finish of your car no end! Fit the rad and connect all hoses, and electrical connectors in engine bay
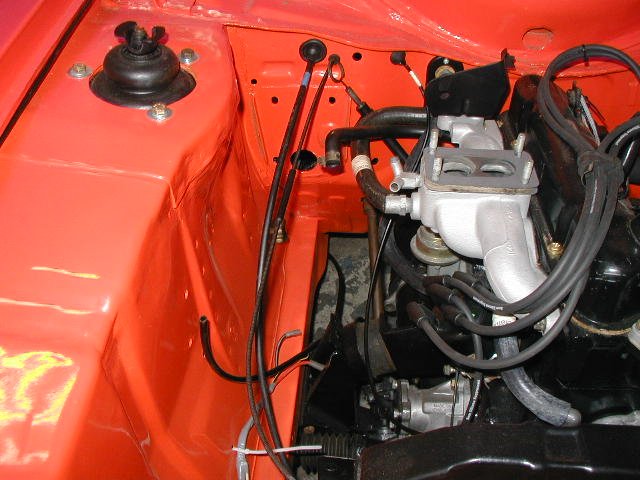

12. Fit the front lights and indicators, ensure at this point you have good earth's. Run loom out to lighting through holes in inner wings, secure grommets and connect front lights and indicators. Ensure all loom connectors are secure and in good condition. Ensure all earth connections are made, as this may result in electrical issues later.

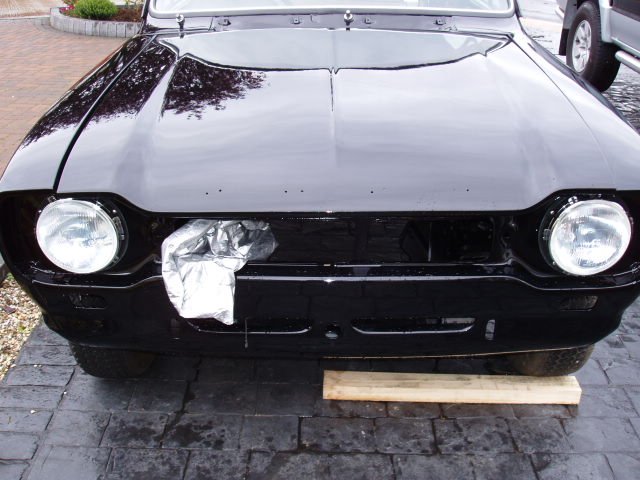
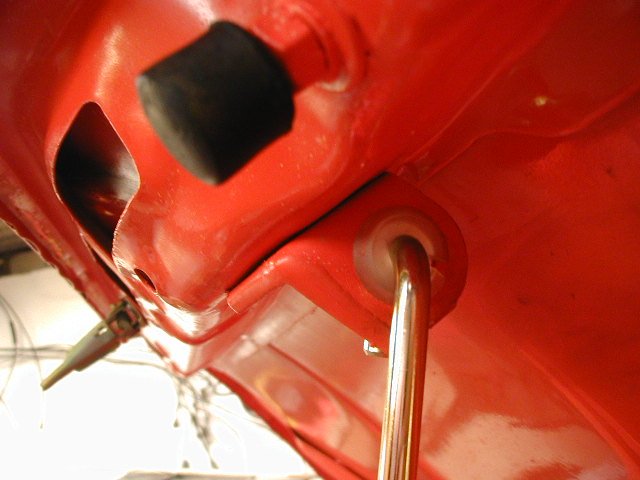
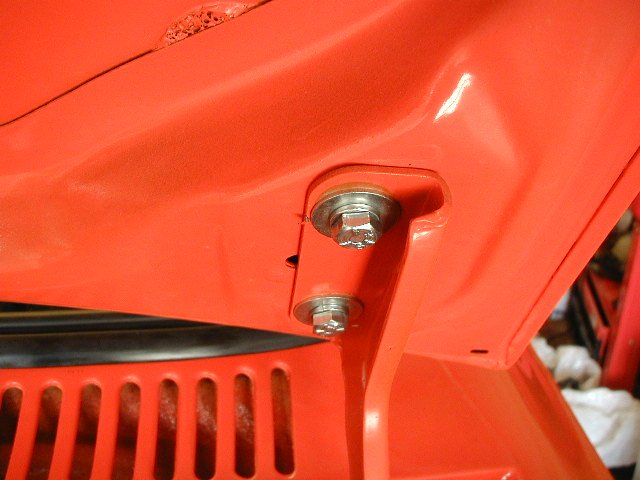
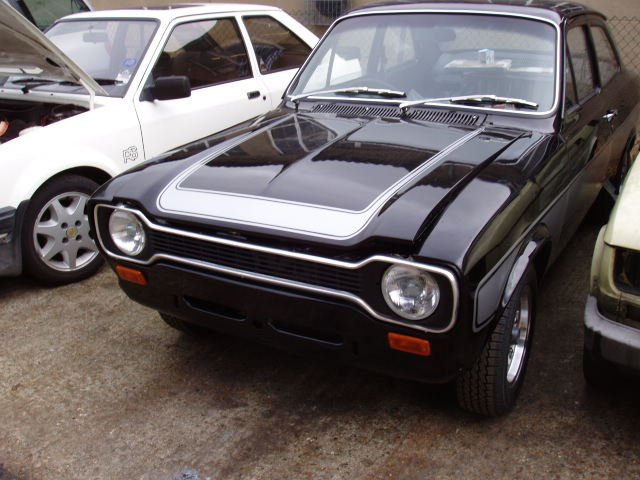
13. Fit bonnet rubbers to inner wing rails and bonnet, fit bonnet stay once you have fitted the locking clips and bonnet release cable and ensured that the mechanism is working effectively.

Recap
So, the suspension is fitted, loom, engine, box and everything is connected. Roof lining is fitted as is the front and rear screen. You may have a little list of spare parts that you need to get, so keep it handy as when you are working through the rest of the rebuild, your bound to find more.
14. Might as well finish that interior off, but firstly complete the roof lining. By now the lining would, if it was going to have sagged and you may need to remove the section we left earlier from the gripper.
If all is OK, then glue as before the door sections, one side at a time, copy the same process as the front screen and pull tight the lining that is near the door. Glue this and again wait for it to become semi dry, retain using Bulldog clips, one dry, fit the door seal, to retain the lining in position and then repeat the process on the other side. But this time ensure you have no ripples. It should be nice and tight, as in the pictures below

15. Once happy, trim any excess away and secure into gripper along down to the rear parcel shelf area and then fit the interior courtesy light and rear view mirror, also sun visors.
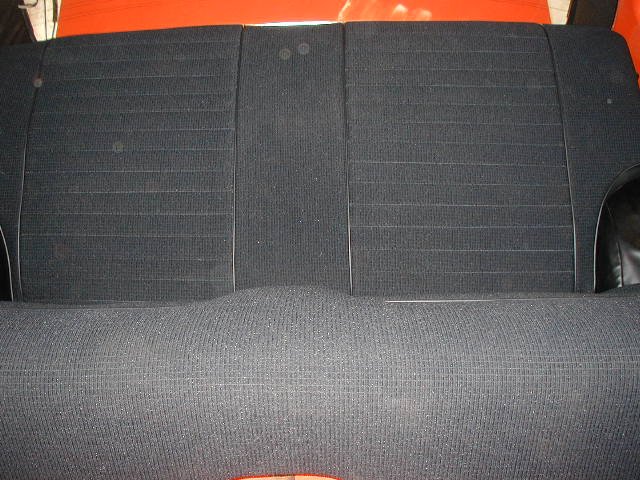
16. Fit and secure the rear parcel shelf and then fit the rear arch vinyl's and the rear plate vinyl trims that site under the rear seat. You may also wish to fit at this point any sound proofing you have and also the rear door cards before fitting the rear seat.
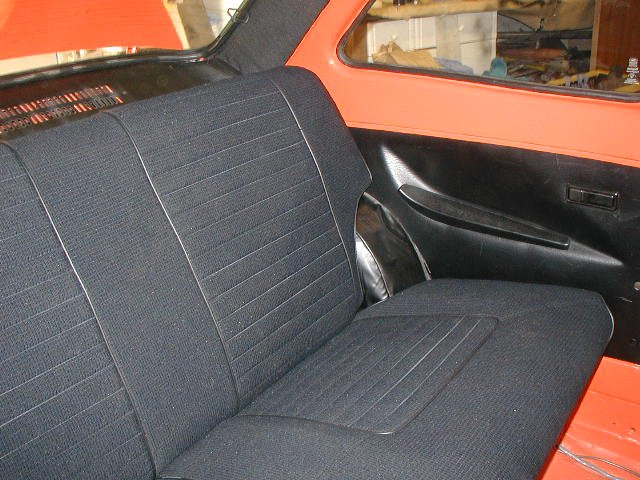
17. We have chosen to fit the seat in it's position and bolt it in. (see above)
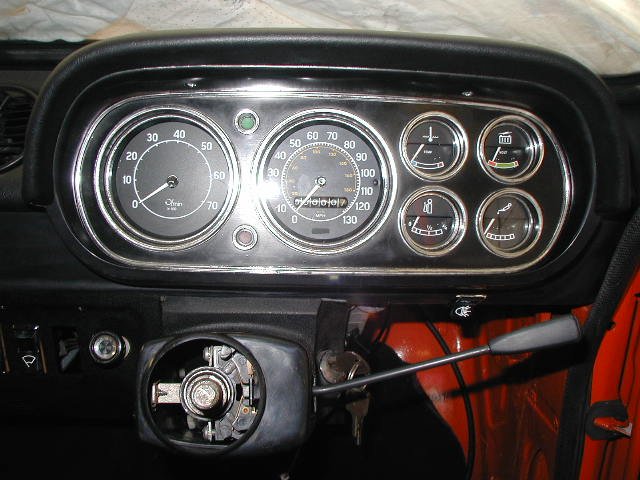
18. Inside the vehicle we fit the clocks and the dash top first, then connect al of the loom inside the vehicle, heated rear window is a separate loom and this is already in place as it was one of the first things you did. Connect up the HRW switch, cigar lighter and Hazard warning light flasher if you car has one!

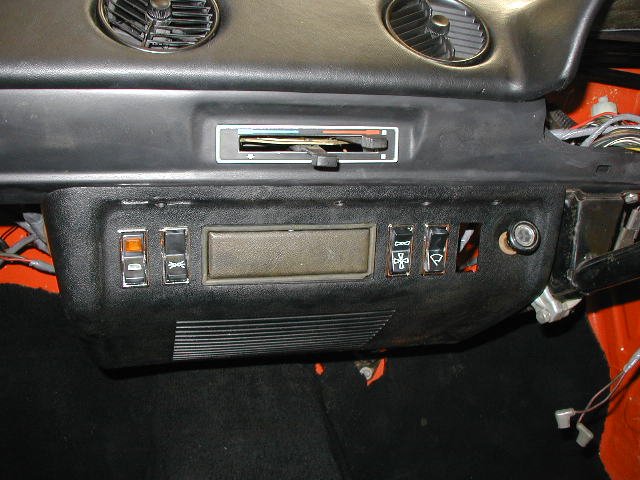
19. Now fit the remaining switches into the switch panel/crash pad and connect to the loom, and don't forget to screw in your courtesy light switches and connect them either. Connect up the heater hoses and air vents as seen above, secure the clocks to the dash top and any other loom connections, fit steering shroud and steering wheel.
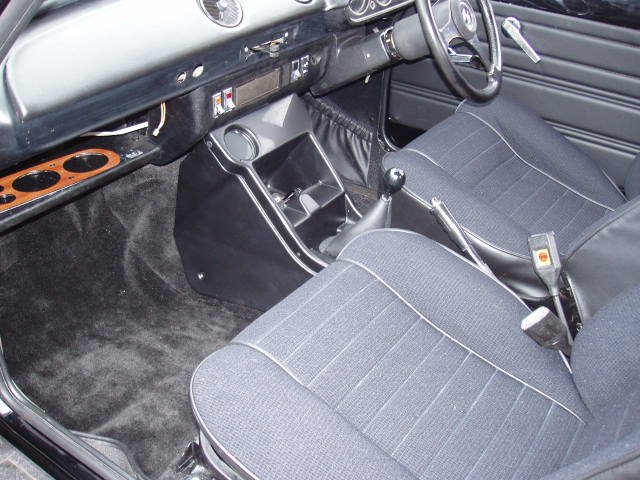
20. When fitting the carpet work from the centre out, most new carpets come uncut for either gear stick or handbrake, so it is essential to make sure you have an even starting point. Centralise the carpet and then work both ways toward the door openings, ensure you have an even amount of carpet at each side and also that you have the correct amount up towards the bulk head of the car. Once you are happy, trim excess and cut holes for gear stick and handbrake. Fit carpet edge trims and seat belts, seat belt buckles. Also now fit the washer pump and connect up, this will look nicer sitting over the carpet
21. Fit and secure handbrake and also ensure cable is fitted underside of car. NB.. If you are fitting a centre console, do this before fitting seats. as it needs to be screwed into the gearbox tunnel.
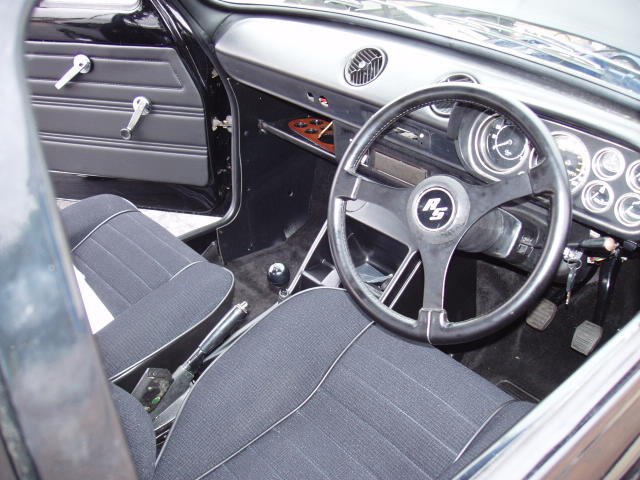
22. Seat should be simple, once fitted secure gear stick. We usually leave this till last as it can damage seats if you are moving them around for location of holes.
23. Doors, get some help here, we usually build them up off the car, it's easier, then lift them and hold them steady while they are secured with new split pins, make sure the hinge holes are clean and free from paint, it will help when you drift the new pins in.
24. Decals, see our decal guide if you fancy having a go - if not seek professional assistance.
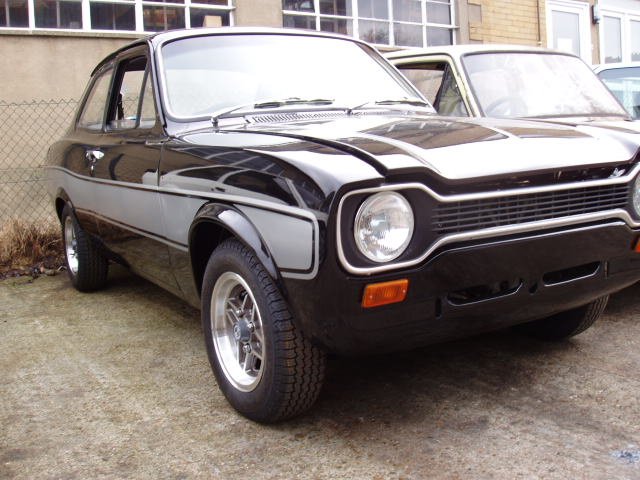
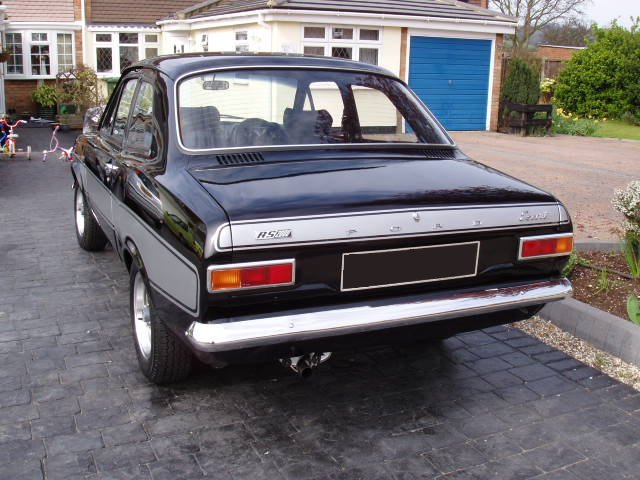
25. Fit all exterior chrome trim, front bumpers, grille, wing/boot badges, number plates and wipers.
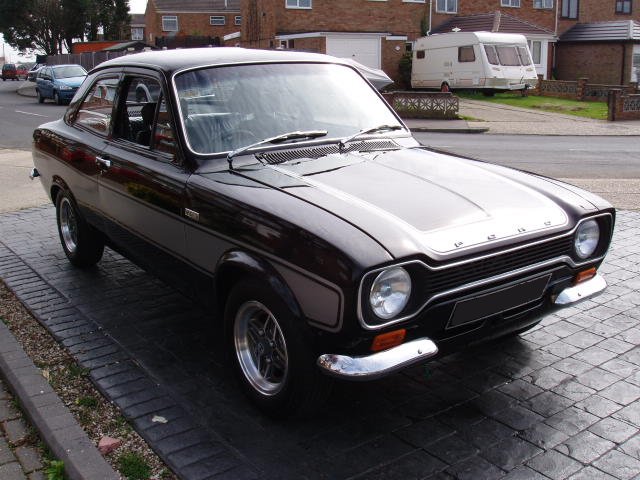
A completely fitted up car!
Remember, a full restoration can take years and many people will give up long before they are anywhere near to finishing, while this guide is in many places vague, it is just a guide - a way to motivate yourself to finish what you started. We said it at the start, and we'll say it again - if you need help, or advice, just ask
|